Thursday, July 2, 2020

July Mini Album Tutorials and Challenge

Happy July book makers!  It's hard to believe we are at mid-year.  We hope you are finding creativity as a respite from this hectic life.  Sadly, this will be our final challenge at Mini Album Makers.  We have enjoyed this journey immensely, but find it difficult to maintain going forward.  We are, however, happy to announce the winner of our June challenge, winning a prize from The Funkie Junkie Boutique  


And the winner is Myry from Fils et Papiers!  Myry shared an exquisite book in a box concept with us.  Make sure to check it out.  Congrats Myry!  Please email Autumn at teamclark@rocketmail.com to claim your prize.  


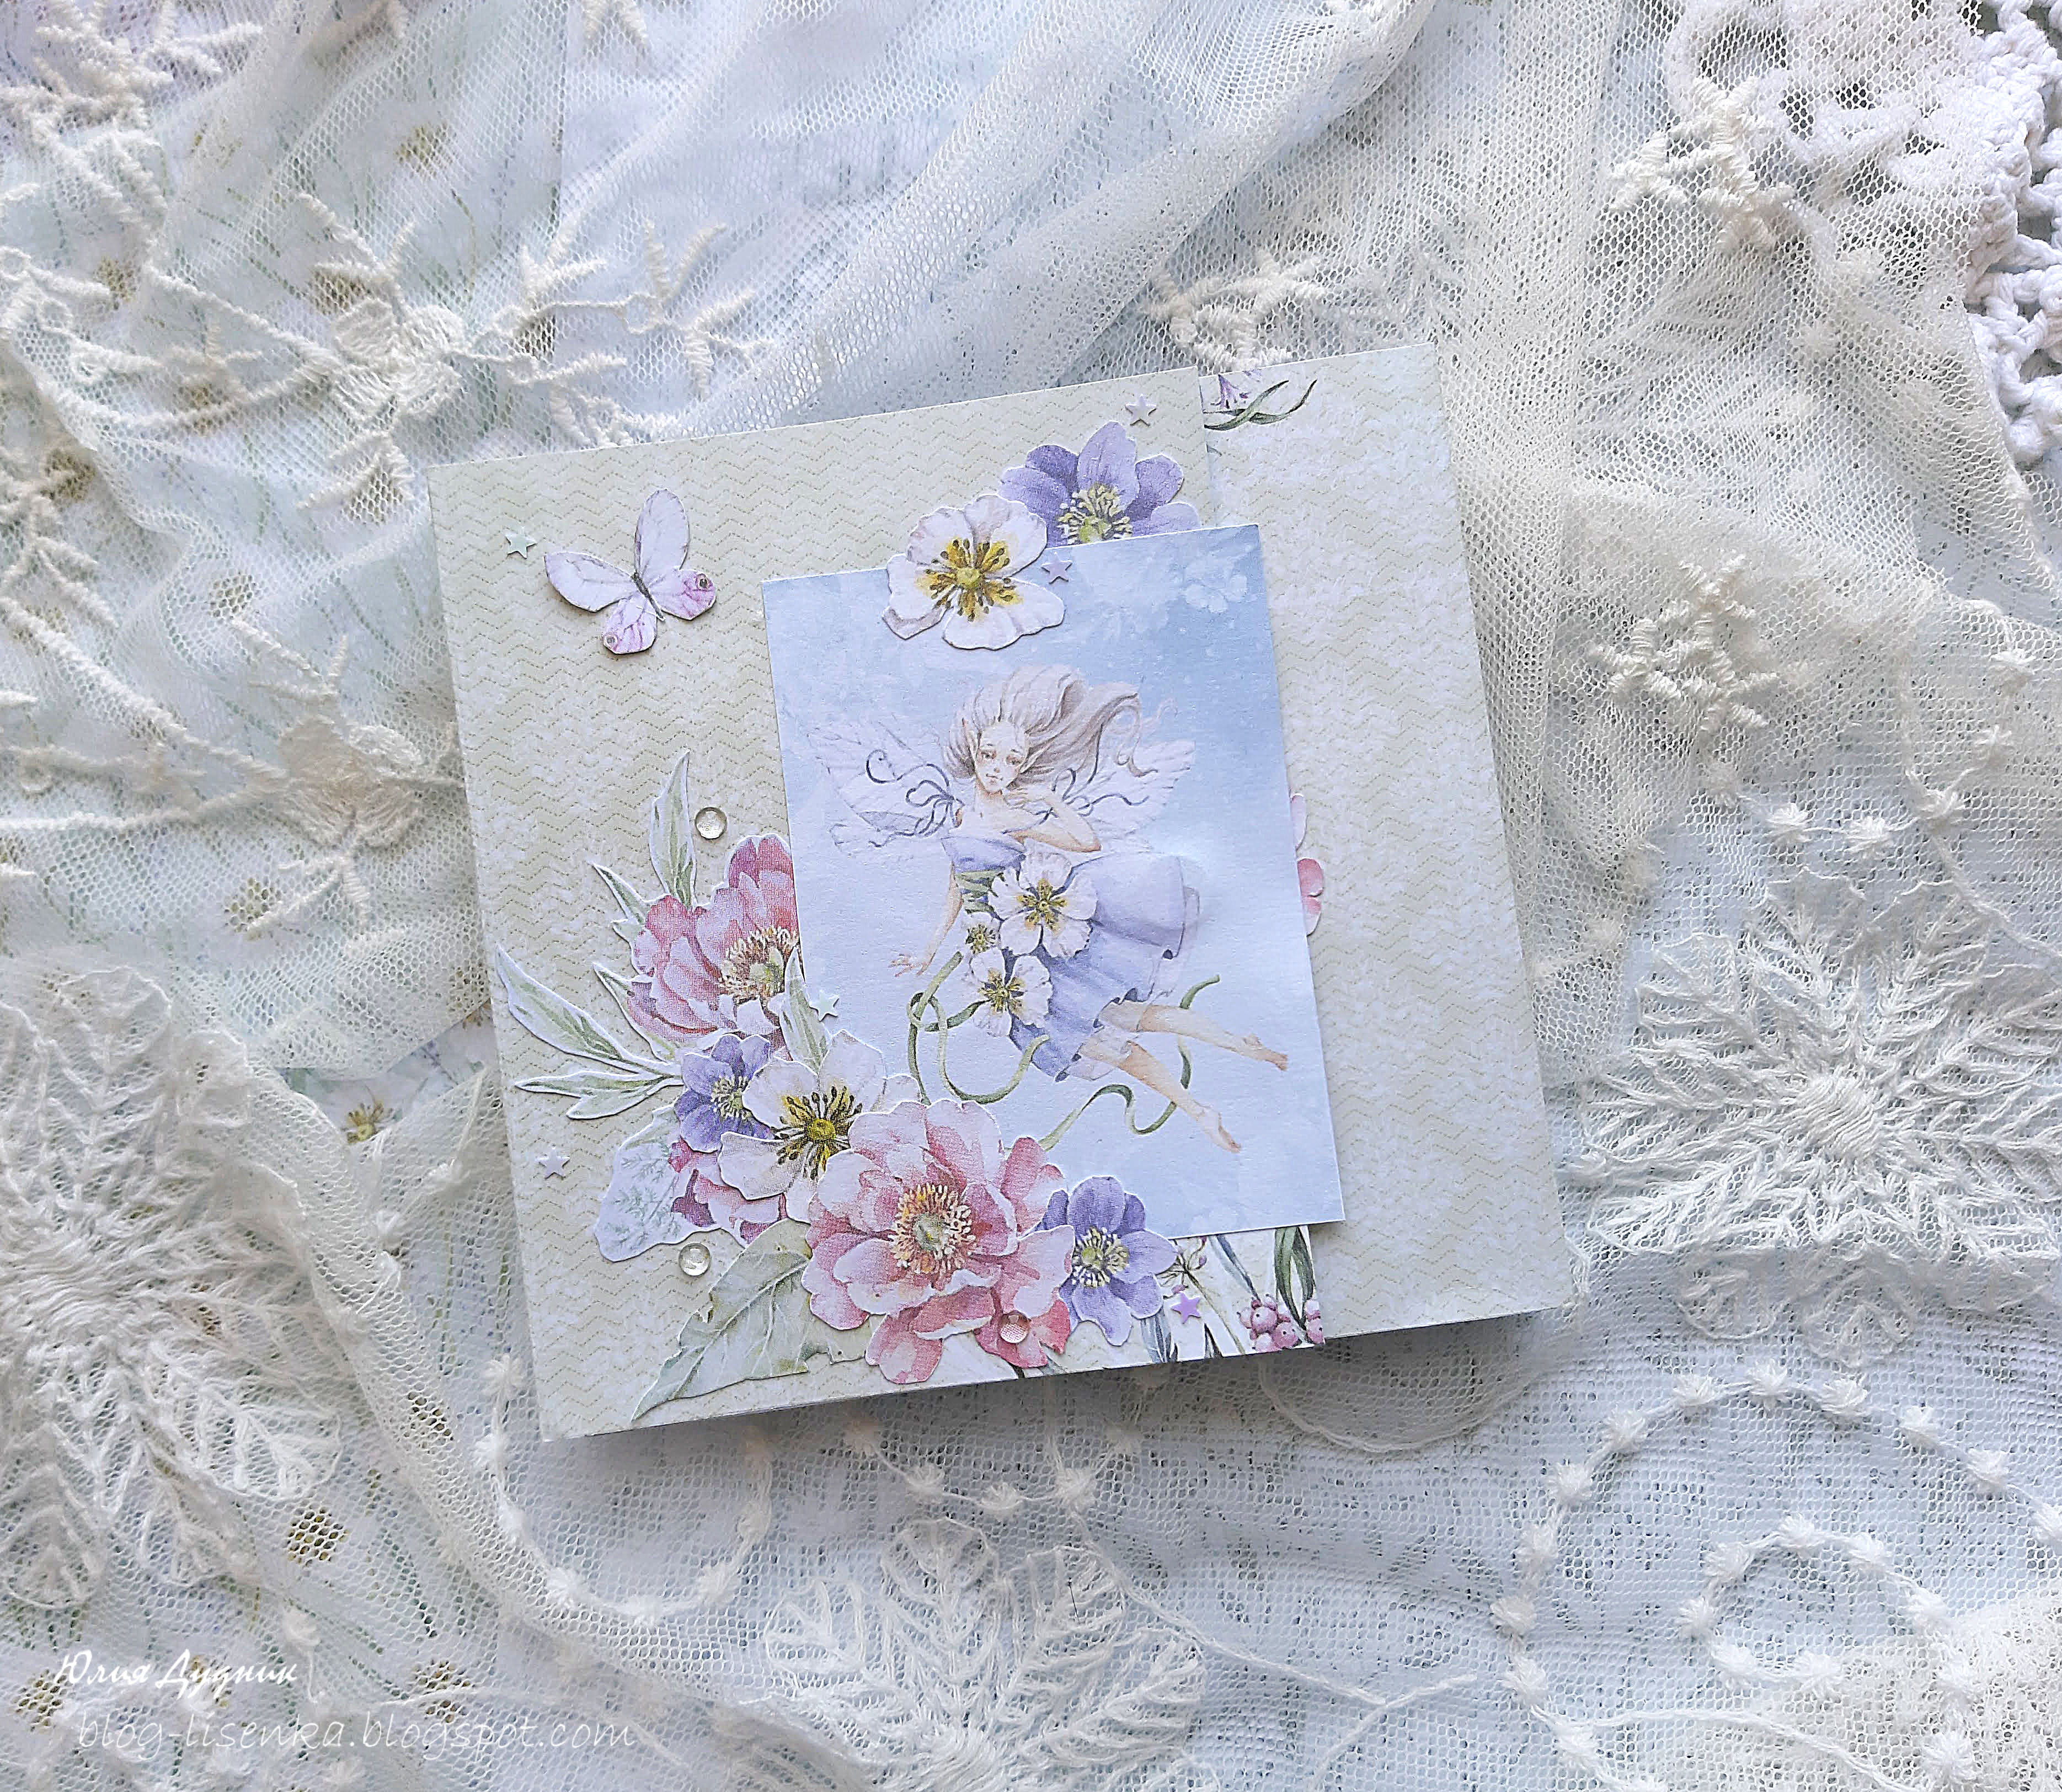
We are also thrilled to have Julia Dudnik of Blog Fox, the winner of our May challenge, joining us as a guest designer today!  Julia has created a beautiful flip book measuring 4.7" square.  Find more details on her blog.


And now inspiration from our design team...


Jennie


I have turned to an old favourite design to create this mini album. However, the inside is filled with new ideas for collage which I learnt during an online workshop last month. Do join me over on my blog if you would like to see how it all came together.


Inna


Hello! My artbook is over and I decided to make myself a new one. You can watch the new video tutorial in my blog.


Gayatri


Hello! This month I have a simple accordion or zig-zag fold album to share. To know more about how I constructed it, visit my blog.


*****************************************************************


Our challenge follows a few simple rules:

Any Handmade Book Goes.  Enter any form of handmade mini albums, scrapbooks, journals and book arts.  Our focus is on completed works, so no layouts or journal spreads that are not part of a complete handmade book project.  You do not have to provide a tutorial, but we wish you would.  Feel free to use one of the DT tutorials to make your project and give proper credit where due.  No back linking allowed.  You must add our badge to your post and link to our challenge to be eligible to win the prize.  Combine with any other challenges as applicable.  Please limit to entering 3 (three) handmade books per month in our challenge.  Permalinks only and no back linking.  Share the love by visiting and commenting on other entries.  Please become a follower.  That's it - have fun!


* Make sure to add our badge to your post *

and link back to our challenge. 


*GET SOCIAL*

Submit your entries to our Facebook page for extra love.

Tag us @minialbummakers with your entries on Instagram for a repost.


Please note: This is a public blog and by linking your project you agree to have your name, blog link and the creation you linked shown on this blog and other Mini Album Maker Challenge social media sites. If you do not agree to this, please do not join in the challenge. Also, remember that any comments and/or linked projects left on this blog will be visible/clickable by third parties as this blog is public.  Email addresses are required for entry by InLinkz and accessible to this blog's moderators.  Your email address may be used to contact you regarding your entries.  We will not share your information willingly for any other purposes.  (This was posted to be in compliance with the new GDPR law that will soon become effective in the EU, and will also apply to blogs located in the US if blog visitors reside in the EU.

You are invited to the Inlinkz link party!

Click here to enter

Monday, June 15, 2020

Envelope Album Tutorial by Gayatri

Hello!  Gayatri with you today sharing a tutorial for the envelope album made as DT Inspiration for June. Here is the album I made:


This is a long tutorial with lots of measurements. I have made a video of the tutorial too. I hope you enjoy it.

Materials required:
Envelope punch board, 12 x 12 inches cardstocks, scissors, glue, a scoring board.


The main envelope is box type measuring 7 1/2 x 5 5/8 inches with 1/2 inch depth. 
  • For this take a square card stock measuring 10 3/4  x 10 3/4 inches. 
  • Make the first punch at 4 3/8, score, and second punch at 5 inches, score. 
  • You will not be able to score completely since the paper will hangover beyond the board. (Don't worry, that will be taken care of when we punch and score all sides. )


You will end up with two parallel score lines like this:


  • Rotate the paper 180 degrees and score and punch on the opposite edge. 


  • Now reverse the cardstock and follow the same steps as above. 
  • Repeat on all four sides. Snip off all the corners.

  • Fold and burnish all the creases. 
  • You have the main box envelope measuring 7 1/2 inches x 5 5/8 inches. 


  • For the two side envelopes, take two pieces of cardstock measuring 9 1/4 inches. Punch at 4 3/8 and score. Follow the scoreline, and punch and score on all four sides.
  • Fold and burnish all the fold lines and you will have two side envelopes measuring 6 1/4 inches x 5 5/8 inches.

  • Cut off one of the flaps from the 5 5/8 inches and attach it to the matching side flap of the box envelope. 

  • Repeat for the other side also. You will now have the album ready.

  • You can decorate and add pages and pockets as you wish. 
Here is the video tutorial for the album. I have shared how I added the pages also.


Tips:
We always trim the pattern paper 1/8 inch less than the size of the card stock. But when you are decorating the triangular flaps of the envelope, the measurements are different.
  • Measure from the base of the flap. Here we have 5 3/4 as measurement. 


Take a square piece of pattern paper measuring 5 3/4 inches and cut diagonally. You will have two triangular pieces of pattern paper. 


Mark with a pencil on the corners where you need to trim.


Trim the edges and you have the layer for the flaps.


That was a long post with all the details. I hope you all found this tutorial helpful and give it a try.  Till next time, stay safe and craft more.
Gayatri

Monday, June 1, 2020

June Mini Album Tutorials and Challenge

Happy summer friends!  We are amazed at your continued support and creativity and truly enjoyed each of your entries in our May challenge.   We hope you are enjoying bookmaking amidst this stressful time in the world.  We are excited to announce this month's challenge sponsor, The Funkie Junkie Boutique.  


We are happy to announce the winner of our May challenge, winning a $35 gift voucher for the Eileen Hull Etsy shop.  And the winner is Julia Dudnik of Blog Fox!  Julia shared an exquisite handmade journal with so many beautiful details on her blog.  Congratulations dear!  Please email Autumn at teamclark@rocketmail.com to claim your prize and to discuss joining us as guest designer.  


And now inspiration from our design team...


I have used some fabulous downloadable vintage papers to make this A5 wallet with pockets and flaps. The inside is decorated with small collages and sentiments. Do join me over at Live the Dream if you would like to see how it all came together.


Gayatri


I have an Envelope shaped mini album to share with you. It has flaps and pockets for adding photos and journaling cards.  Do join me over at my blog for more details.


Autumn


I was inspired to make a fun and funky accordion album from my gelli prints, filled with loads of my favorite PaperArtsy images.  Stop by SewPaperPaint for the details.


*****************************************************************


Our challenge follows a few simple rules:
Any Handmade Book Goes.  Enter any form of handmade mini albums, scrapbooks, journals and book arts.  Our focus is on completed works, so no layouts or journal spreads that are not part of a complete handmade book project.  You do not have to provide a tutorial, but we wish you would.  Feel free to use one of the DT tutorials to make your project and give proper credit where due.  No back linking allowed.  You must add our badge to your post and link to our challenge to be eligible to win the prize.  Combine with any other challenges as applicable.  Please limit to entering 3 (three) handmade books per month in our challenge.  Permalinks only and no back linking.  Share the love by visiting and commenting on other entries.  Please become a follower.  That's it - have fun!


* Make sure to add our badge to your post *
and link back to our challenge. 


*GET SOCIAL*
Submit your entries to our Facebook page for extra love.
Tag us @minialbummakers with your entries on Instagram for a repost.

Please note: This is a public blog and by linking your project you agree to have your name, blog link and the creation you linked shown on this blog and other Mini Album Maker Challenge social media sites. If you do not agree to this, please do not join in the challenge. Also, remember that any comments and/or linked projects left on this blog will be visible/clickable by third parties as this blog is public.  Email addresses are required for entry by InLinkz and accessible to this blog's moderators.  Your email address may be used to contact you regarding your entries.  We will not share your information willingly for any other purposes.  (This was posted to be in compliance with the new GDPR law that will soon become effective in the EU, and will also apply to blogs located in the US if blog visitors reside in the EU.

You are invited to the Inlinkz link party!

Click here to enter

Thursday, May 14, 2020

Eileen Hull Tiny Book and Box Tutorial by Jennie Atkinson


Hello and welcome. Jennie here with you for the tutorial this month where I will share how I made this Tiny Book and Box using Eileen Hull's dies, tissue paper and mixed media products.


I have used crackle medium over printed tissue paper and used simple embellishments in the form of painted metal.


The matching book sits neatly in the box ....


...... again with simple decoration in order not to hide those wonderful papers!

So here is how it came together:


I used Gel Medium to glue the Tim Holtz Idealogy Floral Collage Paper to the board. As I wanted the later crackle product to show I have chose the darkest of the florals. I also added a top coat of the gel medium.


I left everything to dry overnight as it was quite heavy with medium. I was then able to die cut both the box and the book with the tissue adhered.


I then added DecoArt Crackle Glaze over the collage paper, this doesn't sink in to the board as it has been secured with the top coat of gel medium. It is worth leaving this to dry by itself rather than blasting with a heat gun - the crackle seems to develop better when left to dry itself.


Again once it had dried fully I enhanced the crackle with DecoArt White Antiqueing Cream.


You can see the effect that this has! The top book has had the crackle enhanced with the antiqueing cream whereas the box below still awaits the process. The colours are quite different!


I then made up the box easing the creases carefully as they do have some medium in them. I added a magnet in the inside of the box and added a metal floral embellishment to the front flap. A second magnet is not needed as the metal "clicks" to the magnet! I painted the metal embellishment with white acrylic chalk paint (PaperArtsy Fresco Snowflake) to blend in with the lightness of the tissue paper.


I made an accordion folded book for the inside of my book covers. I cut two strips of cream card to measure 10 1/4" x 2 7/8" and scored at 2 1/4", 4 1/2", 6 3/4" and 9". The strips were joined together, folded and the front and back pages glued to the covers.


I had enough of the board to cut this small oval disc (included with the die) which I used on the front of the book to capture the ribbon.


The collage papers worked really well being cut with the board after being glued down. You could also do something similar with stamped tissue or rice papers and leave out the crackle technique.

I hope you find the tutorial helpful.
Stay safe and well.
Jennie x